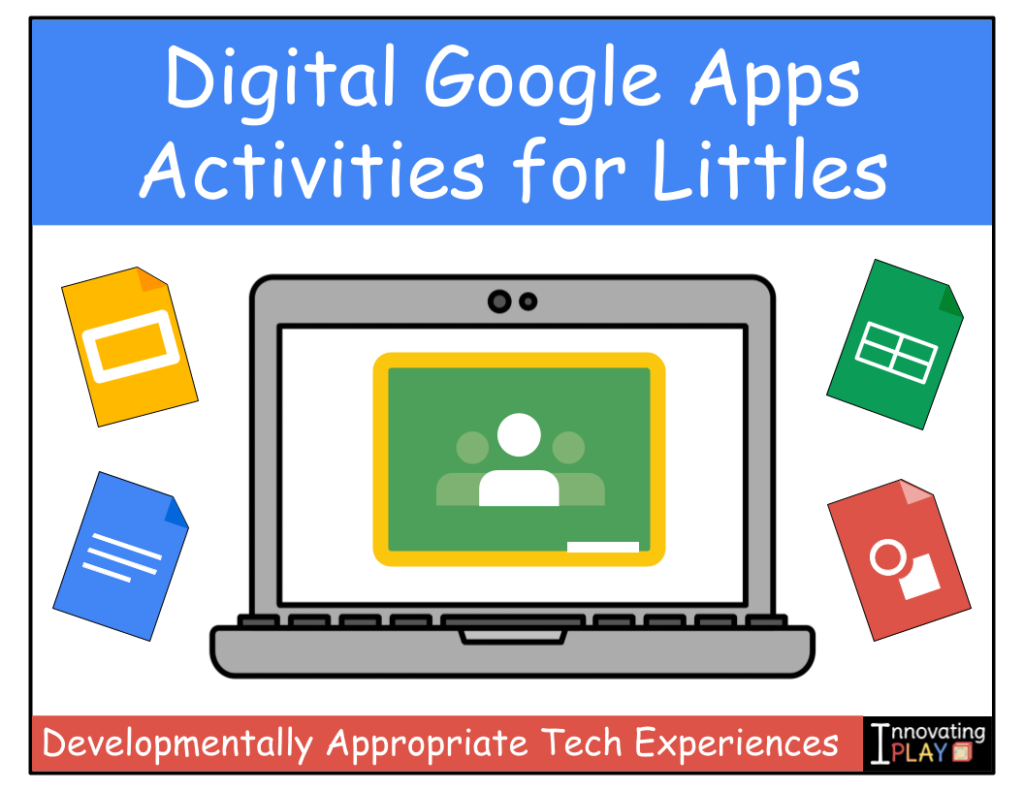
As educators and creators, we recently began looking more closely at our work with young children and technology through the lens of media literacy. This includes the opportunity for children to explore media that exists in the world, as well as create media that reflects individual thoughts, feelings, and ideas. Empowering young children with skills to interpret their digital environment, and participate as creators is an important experience for young learners. Authentic creation, alongside thoughtful conversation and dialogue about the impact of their creation, is a wonderful opportunity to embrace the digital culture that we are all responsible for navigating together.
Leading Up to the Activity
Children are bombarded with media in its efforts to sell ideas, products, and messages at this time of year in particular with the holidays. We find this to be a great teachable moment for interpreting the elements of the digital environment, and recognizing the idea of an audience. Here are some small ways to guide conversation in the classroom before introducing the Holiday Card Creation activity in this post:
Morning Message
If you use a digital morning message space, consider changing the font of the message. How does the font make you feel? Is it easy or hard to read? Why might this be a good font selection? Why might this not be a good font selection?
Sight Word Word-art
Set up a Google Slide deck to practice sight words. Add a sight word to each slide using Word Art. Practice changing the color and the font. How does each design element make you feel? How might you practice each word based on that feeling?
Notice Your World
Go on a font hunt around the classroom or find opportunities to talk about design choices for words in media throughout the day. What do you notice about the letters on the packages in your lunchbox? Are there different fonts on your clothing? What do the creators want you to think or feel when you read those words? Why is it important to know what the creators might want you to think and feel?
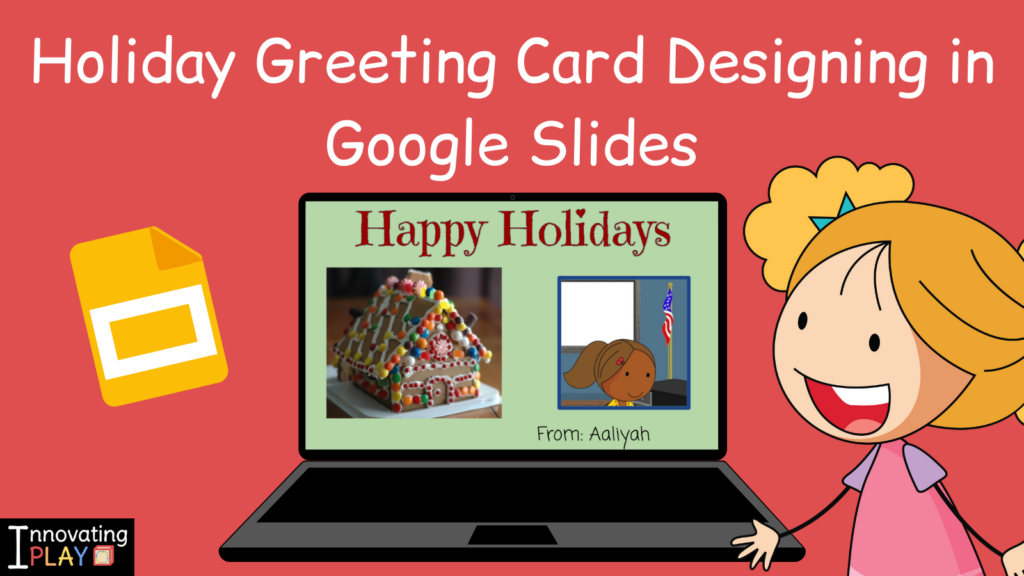
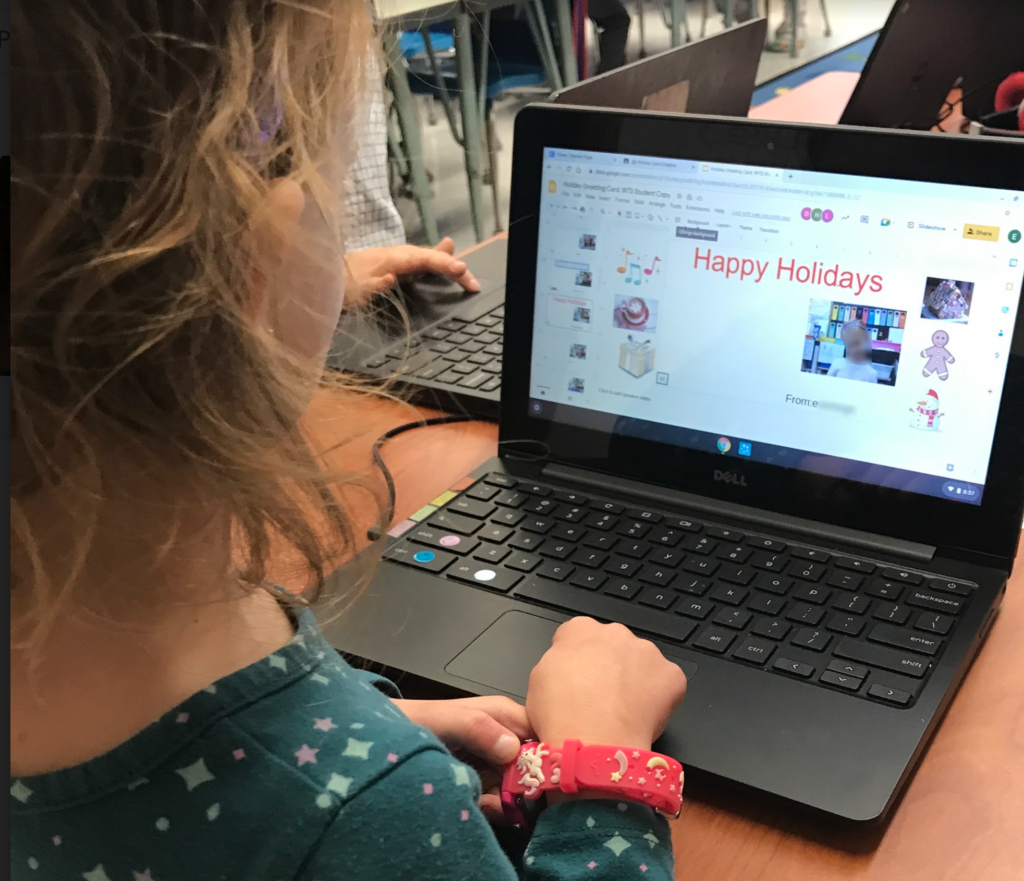
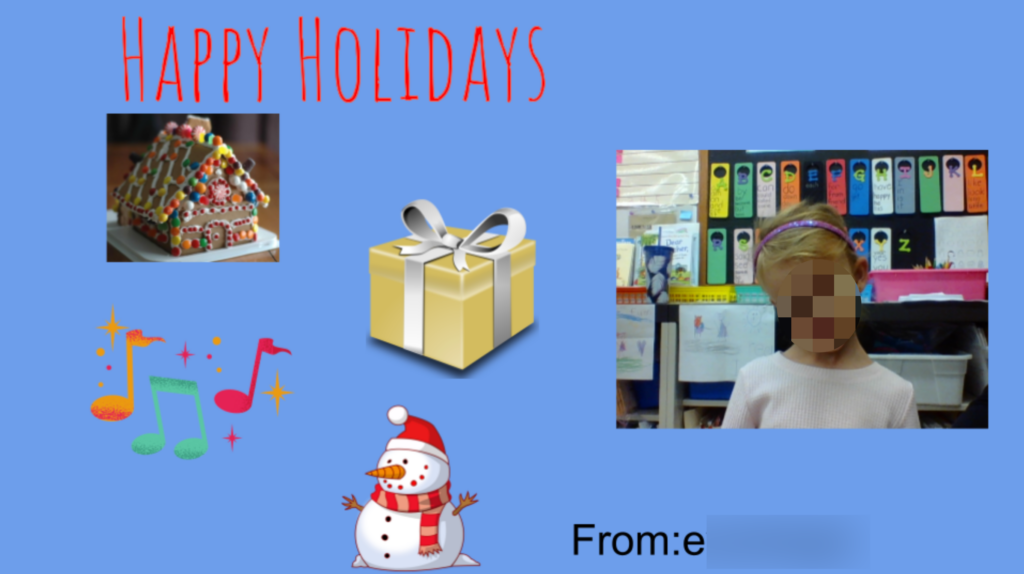
Holiday Greeting Card Designing
Once children have recognized that design choices are meant to communicate specific ideas determined by the creator, they will benefit from the opportunity to become the creators! In the Holiday Greeting Card Designing activity, children will explore their own intentions and develop an understanding of the concept of audience. As part of this activity, students will:
- Identify their audience as friends and family, and make appropriate design choices accordingly
- Select font and color using Word-art that reflects their intention to send kind greetings to others – How will your design choices make others feel when they read it?
- Add an appropriate photo – Does your expression in the photo match how you want to communicate to others? How does the photo make you feel? How might it make others feel?
- Select a font for your name – Will others be able to read it so that they know who created the card? Does it match your intention and stay consistent with your message?
- Select a decorative image – Why did you choose that image? What does it show your audience?
Grab your copy of this activity at:
innovatingplay.world/HGcard
Tips and Insights
- Preview the activity before sharing it with students. If something seems to be “locked down” and you would like to adjust it, you can do so in the Theme Builder. Click on the View menu and select Theme Builder.
- While there may be too many Greeting Card slides, consider leaving a few extra in case someone’s slide gets deleted before they get to it.
- Practice completing the activity as if you were a student, so that you feel comfortable before you model it with students.
- Familiarize yourself with the discussion questions, and jot down others that you may want to include.
- Give students EDITING access to the slides. This activity was designed so that students can be working alongside each other in the same digital space. Emphasize how to access their own slide, and what respecting the work of others looks like in a digital space.
- Version History is your best friend with this activity. It allows you to go back in time to review edits and go back to a previous version. If a child’s completed slide gets deleted, you can copy it from Version history, and paste it into the current version! Version History can be accessed by clicking on the words “Last edit was made ____ minutes ago” which are at the top of the document. Alternatively, you can click on the File menu, choose Version history, and select See version history.
Sharing with the Audience
Who will the audience be for your children? For us, the audience is each other’s class and families. One of the beauties of creating something digitally is the ability to share it on other digital platforms. Before you share your children’s creations beyond the classroom, be sure that you have their families’ consent (for including faces and names). Options for digital sharing include:
- A published link – When a slide deck is published, the audience will receive the deck in Present mode (they will not see the film strip area or the menus). To do this, locate the File menu, scroll down to Share, and select Publish to the web. There are a few options that you can select if you’d like the slides to automatically advance (we usually have folks move onto the next slides on their own). Click the Publish button to publish. Copy and paste the published link and share in the platform that will reach your audience.
- Individual images – Each slide can be downloaded as an image file. If you happen to want to share individual greeting cards this way – locate the File menu, scroll down to Download, and select JPEG image or PNG image.
If you are curious about more Digital Google Apps Activities for Littles, click here or on the category image to the right to discover more!